How to Plan Your Lake Norman Outdoor Kitchen Layout: A Step-by-Step Guide
Plan an outdoor kitchen layout that maximizes your Lake Norman backyard and lake views. Expert tips on the work triangle, zones, traffic flow, and dock-side sightlines.
Outdoor Kitchens LKN Team
We see the same issue in almost every Lake Norman backyard project we walk: the layout was an afterthought. Owners focus on the grill brand and the countertop color but skip the actual flow of the space. The result is a kitchen that looks great but feels awkward to cook in or entertain in. This guide walks through how to plan an outdoor kitchen layout that works with your lot, your views of the water, and how you actually entertain.
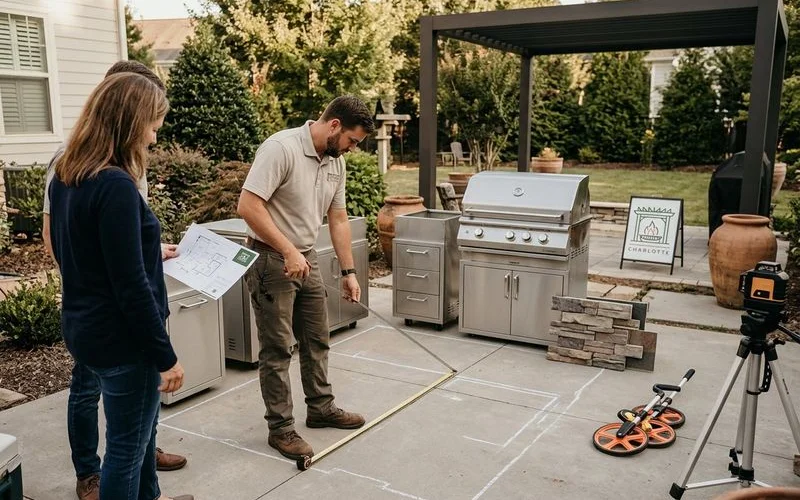
Step 1: Understand Your Lot
Before you draw a single line, walk the patio and answer these questions:
- Where does the sun hit the patio at 4 PM in July? At 11 AM in October?
- Which direction does the wind typically come from?
- Where does the patio sit relative to the lake, the dock, and the house?
- What is the slope? Does the lot drop toward the cove?
- Where do you want guests to enter the space?
- Where does the kitchen door from the house open?
These answers shape the layout fundamentally. A kitchen that works on a flat lot in Birkdale Village does not work on a sloped lot in Sailview without significant changes.
Step 2: Identify the Three Zones
Every functional outdoor kitchen has three zones:
The cooking zone centers on the grill and any other primary cookers (pizza oven, smoker, charcoal grill). This zone needs landing space on both sides for hot food, fire safety clearance, and ventilation.
The prep zone is where food gets ready before cooking. It needs counter space, ideally a sink with running water, refrigeration access, and storage for utensils, oils, and seasonings.
The serving and dining zone is where finished food goes and where guests gather. It includes bar seating, dining furniture, and often a separate beverage station.
These zones should be distinct but flow naturally into each other. A common Lake Norman mistake is collapsing prep and serving into the same surface, which forces you to clear food prep mid-meal to make room for plated dishes.
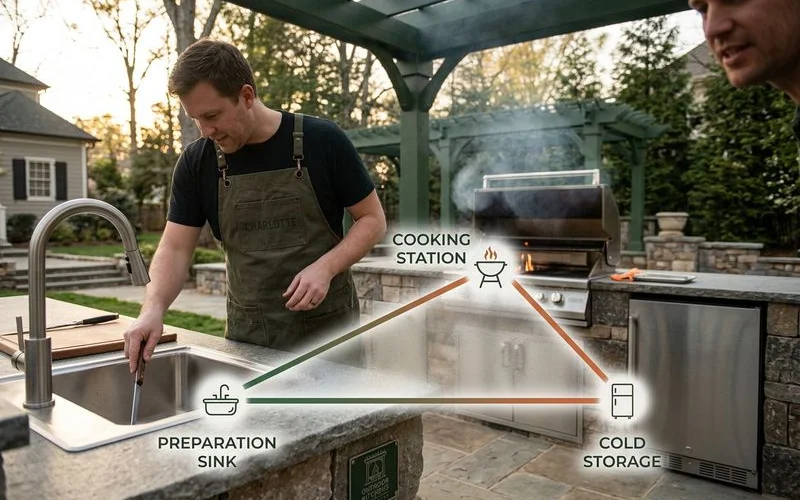
Step 3: Apply the Outdoor Work Triangle
The classic indoor work triangle (sink, fridge, stove) translates to outdoor cooking with adaptations:
- Grill in place of stove
- Sink for prep work and cleanup
- Refrigerator for ingredients and cold storage
The three points should form a triangle with sides of 4-9 feet. Smaller than 4 feet feels cramped. Larger than 9 feet means too much walking between tasks.
For Lake Norman builds, we often add a fourth point: the secondary cooker. If you have a built-in gas grill plus a Big Green Egg or a pizza oven, the second cooker should fall within easy reach of the prep zone but offset enough that the heat does not interfere with the primary grill.
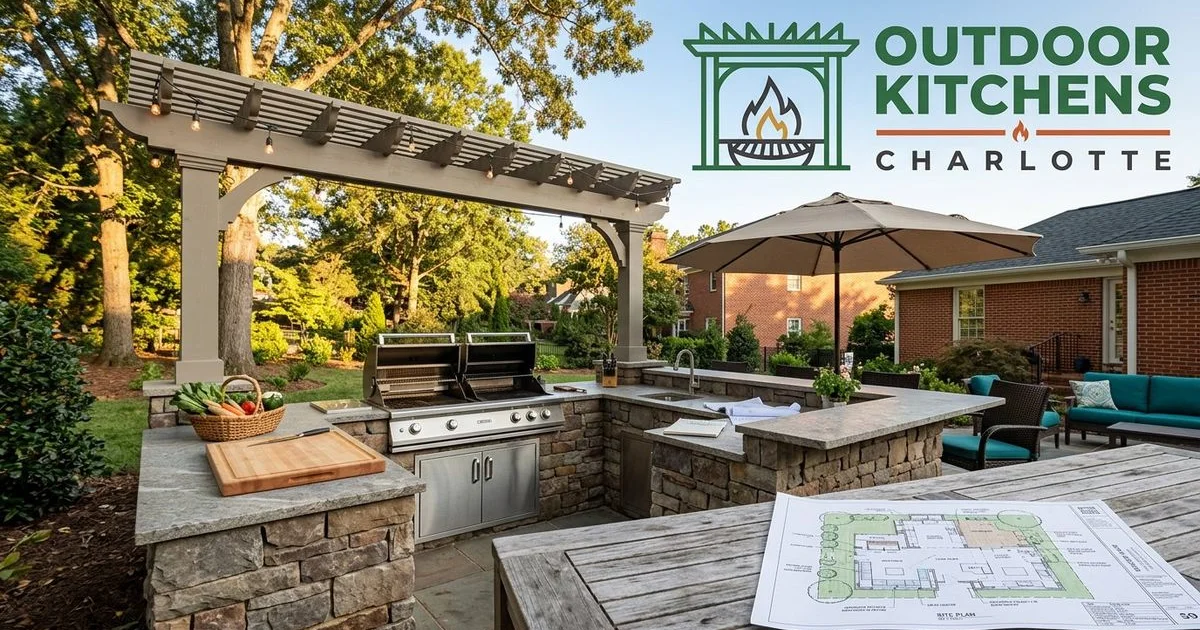
Step 4: Choose a Layout Configuration
Five layouts dominate outdoor kitchen design:
Linear (straight line). All appliances and counters along a single wall or edge. Works well in narrow patios and sheltered coves where space is constrained. Bar seating runs along the front or one end.
L-shaped. Two perpendicular runs of counter, with one typically holding the grill and the other holding prep and serving. This is the most common layout for Lake Norman patios because it defines a clear cooking zone while preserving open patio area.
U-shaped. Three sides of counter with the cook in the middle. Provides maximum work surface but needs at least 12 feet by 12 feet of patio. Common on luxury lakefront builds with substantial pavilion space.
Galley. Two parallel counters with a working corridor between. Efficient for serious cooking but requires careful planning to avoid feeling enclosed.
Island only. A single rectangular or oval island with appliances built in and bar seating around. Works well as a focal point in larger patios where it does not need to fit against a wall.
For most Lake Norman properties, an L-shaped layout offers the best balance of function, social flow, and visual integration with the surrounding patio and view of the water.
Step 5: Position for the Lake View
This is where Lake Norman planning differs from typical suburban builds. The view of the water is part of why you live here, and the kitchen should not block it. Three principles guide our layout decisions:
- The cook should see the water. Position the grill so the cook faces toward the lake, not toward the house. This makes cooking more enjoyable and keeps the cook engaged with guests.
- Bar seating should face the view. Guests should look toward the water, not toward a stone wall. Bar seating along the lake-facing edge of the island accomplishes this.
- Pavilion posts should not block sightlines. When designing covered structures, we position support columns to frame the view rather than interrupt it.
These principles apply across the lake corridor, from The Peninsula to Northview Harbour, but they are especially important on properties with main-channel views.
Step 6: Plan for Wind and Sun
Wind off the main channel disrupts grilling. Direct afternoon sun makes the patio uncomfortable. Layout choices help:
- Position the grill so prevailing wind hits its side, not its front. This keeps flames steady.
- Orient the dining zone so afternoon sun does not blind guests at dinner time.
- Place the prep zone in shade if possible, since prep work happens before evening cookouts.
- Consider a partial pergola over the cooking zone to handle hot summer afternoons.
For exposed lots in Governors Island and parts of The Peninsula, wind management often drives layout more than view orientation. Sometimes the best view is sacrificed for the better cooking experience.
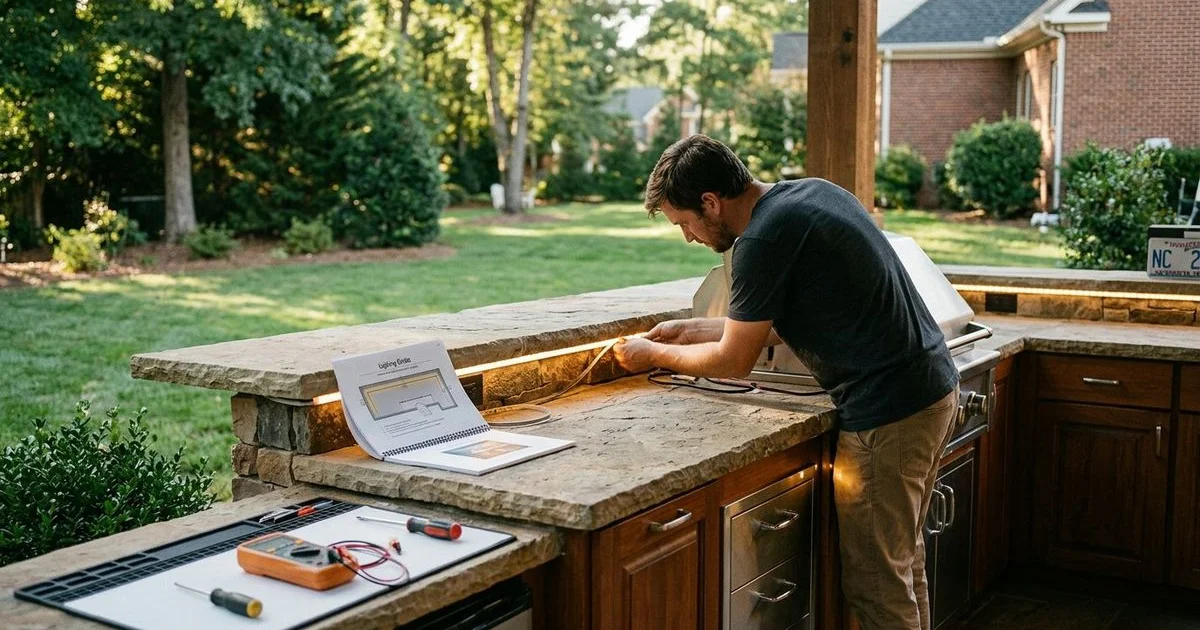
Step 7: Plan Utility Routing Early
Where does gas come from? Where does water go? Where is the electrical sub-panel? These questions affect layout fundamentally.
For most Lake Norman homes, utility runs from the house add cost and constrain placement. The kitchen needs to be reasonably close to existing gas and electrical service to avoid expensive long runs. We map utility access during the custom design phase and adjust the layout to minimize trenching across mature landscaping.
On rural lakefront lots in Sherrills Ford and parts of Terrell, propane is often the answer. We integrate concealed tank storage into the island design.
Step 8: Account for Slope
Many Lake Norman lots slope toward the water. This affects layout choices:
- The kitchen should sit on a level platform, which may require retaining walls.
- The dining zone might step down toward the lake, creating a layered patio.
- Drainage must be planned to direct water away from the kitchen and the house foundation.
- Path connections to the dock should not conflict with kitchen placement.
These slope considerations sometimes force layout choices that flat-lot patios do not face. We engineer around them as part of every project.
Step 9: Plan for Seating and Traffic
A kitchen that works for the cook but does not work for guests is a failure. Plan seating and traffic flow:
- Bar seating at the island works for casual conversation while the cook works.
- Separate dining seating (table and chairs) handles meals.
- Walk-around clearance should be at least 4 feet between island and other furniture.
- Path from the house entrance to the kitchen should not cross the cook’s work zone.
For larger Lake Norman builds with separate lounge areas around a fire feature, the layout becomes a true zoned outdoor living space. We design these to flow without forcing guests to thread through the cooking zone.
Step 10: Validate the Plan With 3D Renderings
Before committing, see the design in 3D. Photorealistic renderings let you walk through the space mentally before construction starts. This catches layout problems while they are still fixable on paper.
Our custom outdoor kitchen design service includes detailed 3D renderings with multiple viewpoints, including a view from the dock for lakefront properties. We revise the design until you are fully confident in the layout.
Common Layout Mistakes to Avoid
Across hundreds of Lake Norman projects, these are the most common layout errors:
- Bar seating that faces away from the view of the water.
- Grill positioned with prevailing wind hitting the front (flame disruption).
- Sink and prep zone too far from the grill (constant walking).
- Pavilion posts that block the lake view from inside the kitchen.
- No landing space on either side of the grill for hot food.
- Walk-through traffic routed across the cook’s work zone.
- Insufficient outdoor lighting for after-sunset use.
A good layout addresses every one of these before the foundation is poured.
Getting Started
Outdoor Kitchens LKN approaches every project layout-first. We walk the property, identify the views, plan the work triangle, and produce 3D renderings before any material decisions are finalized. Reach out for a free on-site consultation and we will help you plan a Lake Norman kitchen layout that actually works for how you cook and entertain.
Outdoor Kitchens LKN Team
Outdoor Living Design Specialist
15+ years designing outdoor kitchens across the Lake Norman region.